Pages

Monday, January 28, 2013

Cheesy Garlic Pull Apart Bread

Boy Oh Boy!!!!
  I made this to accompany my Ravioli in Meatsauce
 and was it awesome.
  Rave reviews from the whole family.
  I hope you enjoy.


Pull apart Cheesy, Onion, Garlic Bread:

Adapted from Kitchen Daily www.kitchendaily.com

1 1/2 stick cold unsaltet butter (1 stick cubed)
1 med onion, finely chopped
2 cloves garlick mashed with a knife and chopped
1 T sesame seeds
sea salt and freshly ground pepper
1 c coarsely shredded mozzarella cheese
2 c all purpose flour, plus more for dusting
2 t baking powder
1/2 t baking soda
1 t salt
1 c buttermilk (if not on hand have an easy fix at the bottom)

Directions

1. Preheat the oven to 425°. Butter a 9-by-4 1/2-inch loaf pan. In a large skillet, melt the 1/2 stick of uncubed butter; pour 2 tablespoons of the melted butter into a small bowl and reserve. Add the chopped onion to the skillet and cook over moderate heat, stirring occasionally, until it is softened, about 8 minutes. Stir in the poppy seeds, garlic and season with salt and pepper. Scrape the onion mixture onto a plate and refrigerate for 5 minutes, until cooled slightly. Stir in the Mozzarella.
2. Meanwhile, in a food processor, pulse the flour with the baking powder, baking soda and salt. Add the cubed butter and pulse 3 to 4 times, scrape the sides of the bowl and pulse again until it is the size of small peas. Add the buttermilk and pulse 5 or 6 times, just until a soft dough forms.


3. Turn the dough out onto a well-floured work surface and knead 2 or 3 times. Pat or roll the dough into a 2-by-24-inch rectangle. Spread the onion mixture on top. Cut the dough crosswise into 10 pieces. Stack 9 pieces onion side up, then top with the final piece, onion-side down. Carefully lay the stack in the prepared loaf pan and brush with the reserved butter.
4. Bake the loaf in the center of the oven for about 30 minutes, until it is golden and risen. Let the bread cool for at least 15 minutes before unmolding and serving.


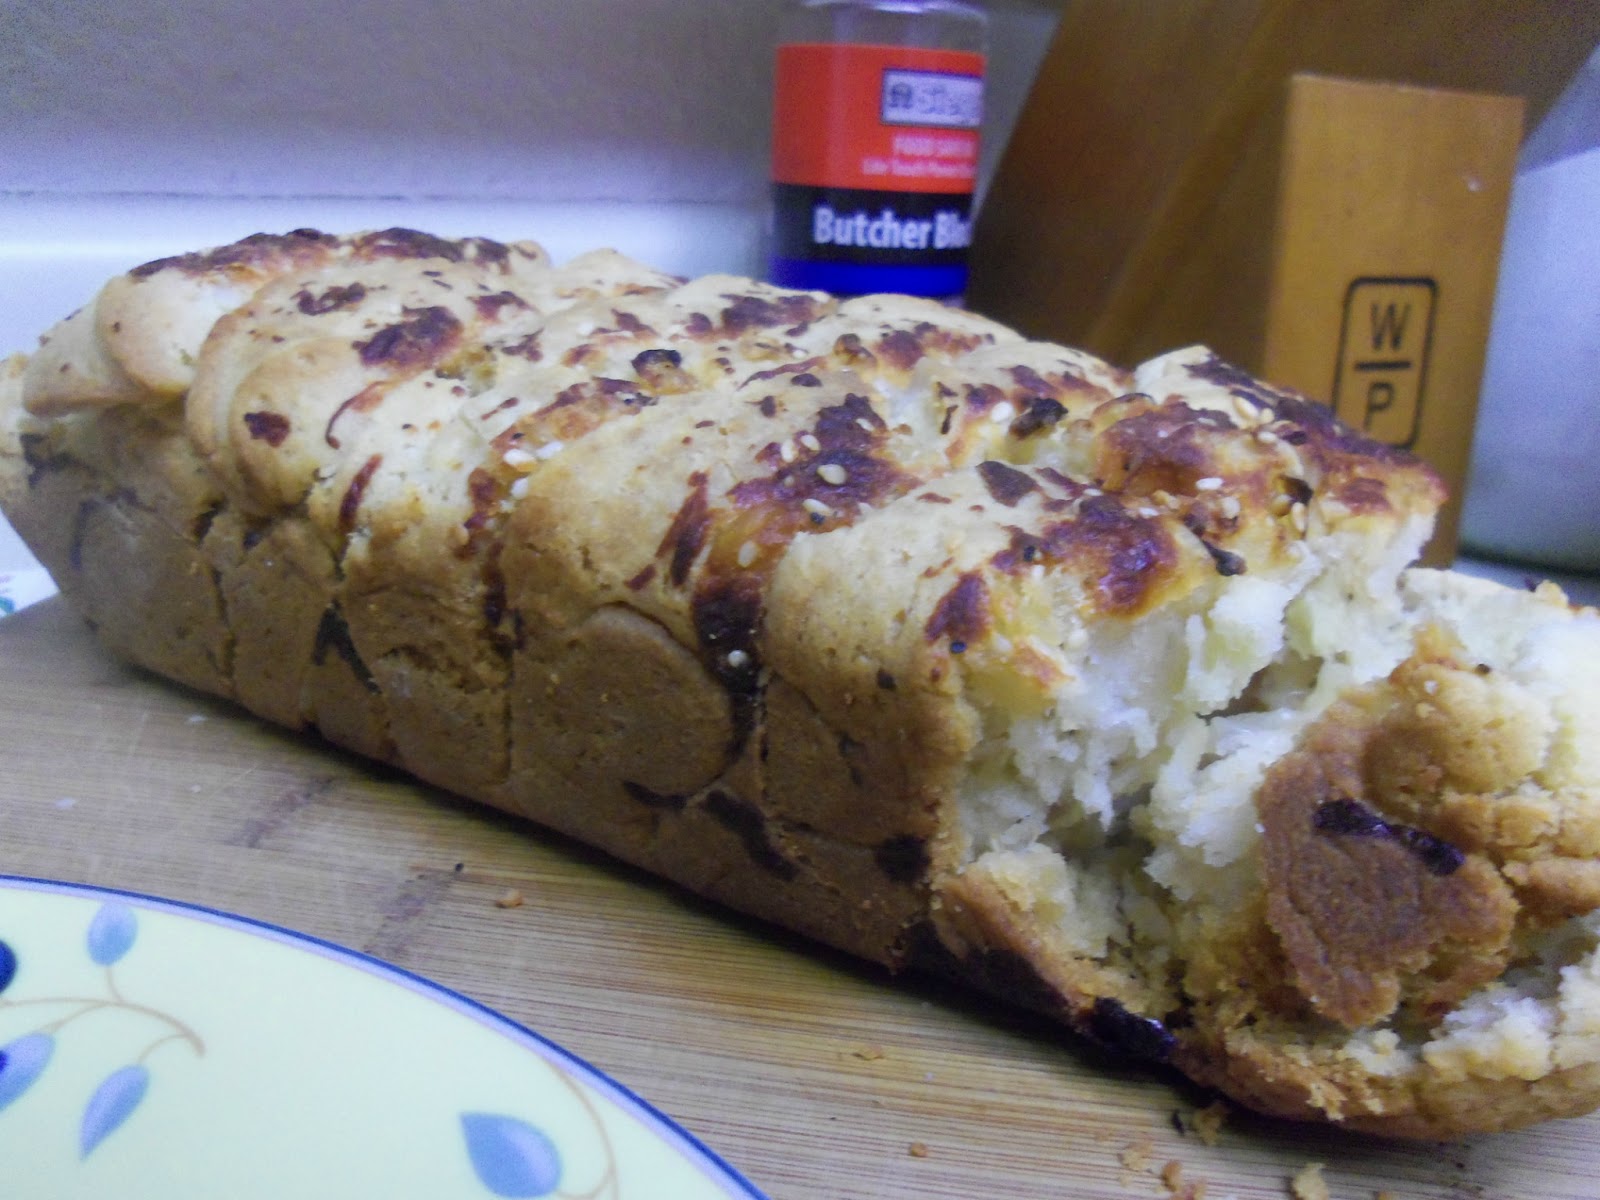
Serve with your favorite dish.  I chose Ravioli in my homemade Marinara Meat Sauce.


Making a recipe that calls for buttermilk? Use this simple substitute, and you won't need to buy any:

Prep Time: 5 minutes

Total Time: 5 minutes

Ingredients:

  • Milk (just under one cup)
  • 1 Tablespoon white vinegar or lemon juice

Preparation:

1. Place a Tablespoon of white vinegar or lemon juice in a liquid measuring cup.2. Add enough milk to bring the liquid up to the one-cup line.3. Let stand for five minute. Then, use as much as your recipe calls for.


This works great I do it all the time because I don't use buttermilk on a regular basis.


Today's Featured Product from Claudia's Kitchen Creations:


Jalepeno Jelly
$6.00 per Jar plus Shipping


Jalepeno Jelly/Sugarfree Jalepeno Jelly w/Agave

Friday, January 18, 2013

Egg, Chorizo and Hashbrown Burritos plus an excellent addition

OK, perhaps I got a bit zealous on Monday and overextended myself.  With that being said I am pleased to present to you.  Egg/Chorizo/Hash brown    Burritos in homemade Flour Tortillas.  The tortillas are made with butter instead of lard,,,I am not a huge fan of lard it's to hard on my GERD.
I am also going to feature one of my products this week that goes well with everything.  Whether you eat them alone, put them in a drink or chop them up for burgers, pizza, burritos, brats, whatever you are gonna love them.    
 
OK, let's get on with the show....................................................
 
 
First let's tackle those Tortillas.  I was looking for a good Flour Tortilla recipe but could only find them made with Lard.  Upon further investigation I found a few recipes without and am including my tweaks to you. 
 

THE TORTILLA


Makes 6 Tortillas

Ingredients:
  • 2 cups white flour
  • 1 teaspoon salt
  • 1/2-cup (one bar) butter or margarine
  • 2/3 cup water
Put the 2c of flour and salt in a medium bowl and mix.  Measure water in a Microwave safe measuring cup and place the stick of butter in the water.  Microwave on high for 2 minutes or until the butter melts.  Slowly add to the flour mixture while stirring with a wooden spoon.  Stir until a loose, sticky ball forms.

Knead the dough on a lightly floured surface for two minutes.  Place dough back in bowl and cover.  Let rest for 10 minutes. At this point you can cover tightly and refrigerate dough overnight if needed.

Divide your dough into 6 pieces. The easiest way to do this is to roll/shape the dough into a tube, slice it in half, then cut each half into thirds. Although I'm sure you could have figured that out on your own, right?  Roll each of the six portions in to balls and place on a plate.  Let these rest for 10 minutes.

Roll each tortilla out with a lightly floured rolling pin over a lightly floured, smooth surface.  Warm a dry cast iron skillet or comal on high.  Cook tortillas about thirty seconds on each side it should start to puff a bit when it is done.

These can be reheated in a microwave between two damp paper towels or a tortilla warmer for 30 to 45 seconds. 
 
T


THE FILLING

1 Pound of Beef or Pork Chorizo
1 Box of Hungry Jack Hash browns or 2 medium potatoes shredded and drained.
8 large eggs whipped
1/4 cup sliced onion
1/4 c diced tomato
Salt and Pepper to taste
Sprinkling of Turmeric
 
 
Prepare the hash browns in a large skillet with 1/4 t melted butter or margarine, cook 3 to 4 minutes and toss, cook 3 to 4 minutes longer.  Set aside and keep warm.  I usually use an oven safe mixing bowl and put them in a warm oven.
 
Meanwhile brown Chorizo in a large skillet with onion.  Meat should appear to be a dark reddish brown.  Add eggs and spices, cook until smooth but not dry.  Turn off heat, add hash browns and diced tomato.
 
Fill your tortillas and roll, you can close both ends or leave one open.  I usually wrap these in foil and refrigerate.  They are a great way to get a quick, nourishing breakfast.


THE CONDIMENT KICKER


CLAUDIA'S KITCHEN CREATIONS   GARLIC STUFFED JALEPENOS

$12.00/QUART  $24.00 HALF GALLON PLUS SHIPPING

This is one of my most popular items.  They taste great on their own or in a Martini or Bloody Mary.  Made with fresh peeled garlic, fresh jalepenos, fresh basil, pickling salt and vinegar.  They contain no preservatives.  I like to chop these babies up and put them on my bratwurst.  Great gift for the person that has everything.  


Sizes

Monday, January 14, 2013

This Week with Claudia's Kitchen Creations January 14-19 2013

Happy Monday everyone!!!  I have just finished my kitchen scrub down and have decided what I will be working on this week.  I will post Blogs with recipes Tuesday, Wednesday and Friday this week.

This is what I have in store for us:

Chorizo/Egg/Hashbrown Burritos, we are also going to try and make our own tortillas.  I have a basis for a recipe but think I will do a little tweeking.


Pull apart Cheesy Bread, received a recipe over the weekend, however it was made with Guyere Cheese and Poppy Seed, two things I do not normally have on hand.  So we will develop something just as tasty but different.


Finally, we will be making my recipe for Hamburgers and we will be making our own Hamburger Buns.


I hope you are as excited as I am.  This is going to be FUN!!!


Saturday, January 12, 2013

Happy 2013 from Claudia's Kitchen Creations - Overview for the year

Slow Cooker Pork Chops with Homemade
Pork Gravy, Roasted Green Chile
Mashed Potatoes and Claud's Delicious
Green Beans

Welcome to my new food blog!!!


 I will not be posting anything political or argumentative nor will I be discussing daily trials and tribulations unless it is related to food, cooking or canning.  This is strictly a blog to share what I have learned and am learning as I grow my knowledge in Culinary Arts and Canning.  And to introduce you to products I make that enhance the recipes that you may already use  This is my promise to you.

As you may or may not know I sell canned goods at local Farmer's Markets and Craft Shows.  However, I am beginning to delve into other culinary arts and developing my own recipes.  I am hoping to publish a cookbook this year as well as expand my canning sales to the internet  community.

The picture featured in this 1st blog was a meal I prepared last fall.  I will be sharing these recipes with you in my next submission.  I had just wanted to take a bit of time to introduce myself, my purpose and my hope that we will be able to enjoy good food and company for quite some time.  Bon Appetit!!   www.facebook.com/claudiabeaver www.facebook.com/thisnthatcrafters